Contents
First steps into brewing Kombucha
Origin
I received a part of the mother ‘cake’ and instructions on how to go about this from the founder of FoodHackingBase (Many thanks to you! 😀 ).
After receipt
After having received a culture of the mother fungus, the “graft” was transferred to approximately 1l of a dilution of black tea, to which blonde sugar and approximately 150-200ml of the previous incubation medium were added. (At that time it was summer and the air conditioning was at 21-23 degrees, it might have been colder at night). The diameter of the vessel was 12cm.
Although almost the entire surface was covered by the culture after an approximate 16 days, the culture still looked kind of fragile to me (this may be explained by the unstable temperature?) so I decided to give him another chance in fresh medium and in a new pot (diameter 19cm). After transfer, the whitish part of the surface still looked fine, the more bubbly part imploded -not unexpectedly.
I kept the growth medium of the culture aside to see what would happen, and if by any chance a new SCOBY would develop.
One week later
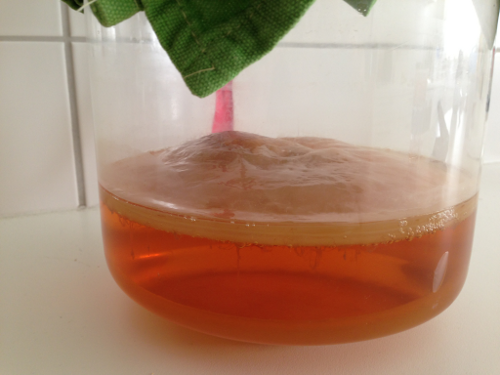
Incubation occurred for one week at constant room temperature and resulted in good growth of the SCOBY (hereafter called ‘Flor’) and formation of a new transparent fragile SCOBY cell layer in the previous medium from ‘Flor’, with some transparent cell batches floating on top (this SCOBY hereafter called ‘Pol’).
 1: Flor Before
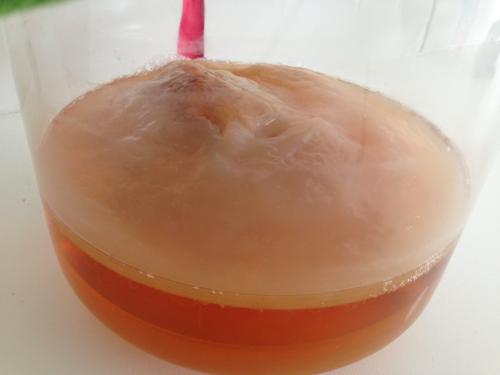 2: Flor Before
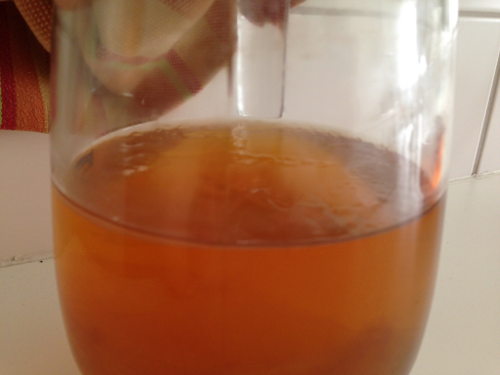 3: Pol Before
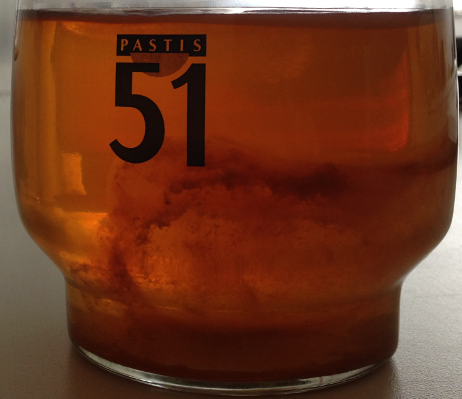 4: Pol Before
- Transfer of Flor to a reduced sugar and tea mixture to allow for the fermentation of a first batch of kombucha
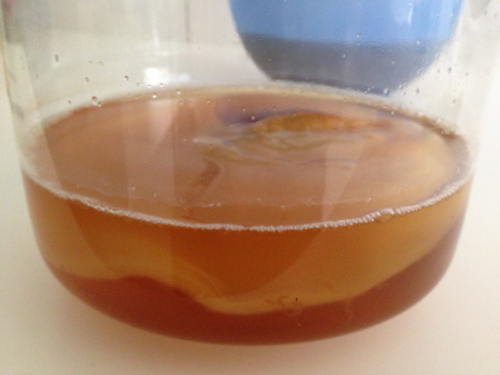 Flor After
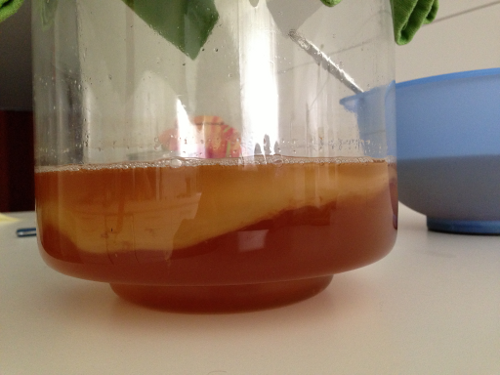 Flor After
- Transfer of Pol to 50% old medium of Flor, added blonde sugar and fresh but diluted batch of black tea amounting to a total of approximately one liter.
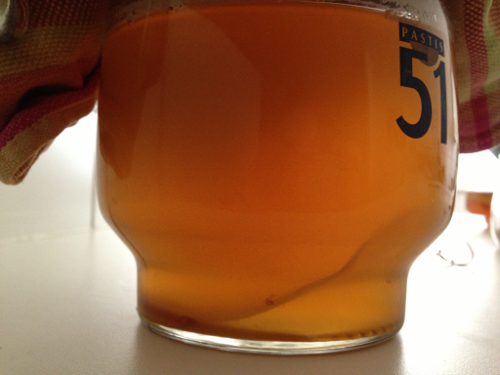 Pol After : (Note afterwards: this one wasn’t doing so good, it is too thin to produce any flavorful kombucha, hence this batch was not kept)
Both batches peacefully together in their new environment 🙂
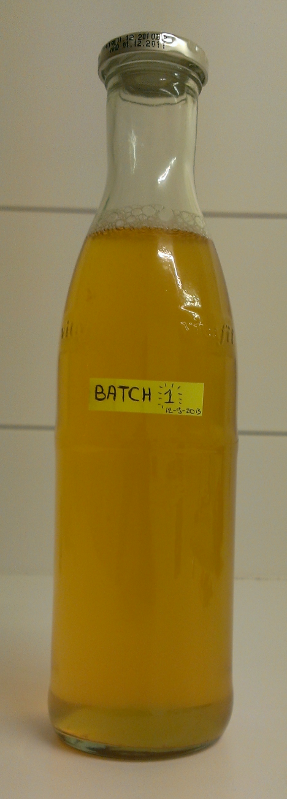
Batch 1
In the meantime, a baby of the FLOR mother is brewing its first batch of kombucha, while the mother is stored in the fridge. The same goes for the POL batch, but this one has already produced the first real batch of Kombucha! YAY! 😀
Wanna taste ?! :p
Brewing tips
A good website that has helped me deal with all these different mothers and baby SCOBYs is the following one: http://www.harmonikireland.com/kombucha-tea/
Thanks to the authors for sharing such an informative page on kombucha!
After the long silence
After about a year and a half of silence on the SCOBY front, I am testing whether any of the SCOBY’s are still viable ..
I resurrected three samples of three different SCOBY cultures that were stored in the fridge for about the same length of time:
- A sample (liquid) from over a year old Kombucha
- A baby-SCOBY stored in a glass recipient
- The last mother SCOBY I used for brewing
Against my expectations, I found that:
- the smell of the Kombucha (sample 1; 50ml) was surprisingly fresh!
- the SCOBY’s used for the samples 2 and 3 were in surprisingly good shape. They were thoroughly washed/rubbed (with clean hands) in plenty of running water before restoration
Restoration was performed at room temperature, in 1% of black tea and 10% sugar (traditional white sugar; for brewing I usually use a brown sugar or honey)
After about 3-4 weeks (August 10th 2015), I was almost giving up on sample 3, because it didn’t really look that vivid (but a bit better than in the beginning), I thought to give it one more go, refreshed the medium once more, and surprise, surprise, it pulled through.. this week *me happy* 🙂
Unfortunately, in the meantime, for one reason or another a fruit fly got through to sample 2 and got infested with eggs, so I threw the body away, added fresh medium and some fresh kombucha culture, and we’ll see how that goes..
VICTORY 😀
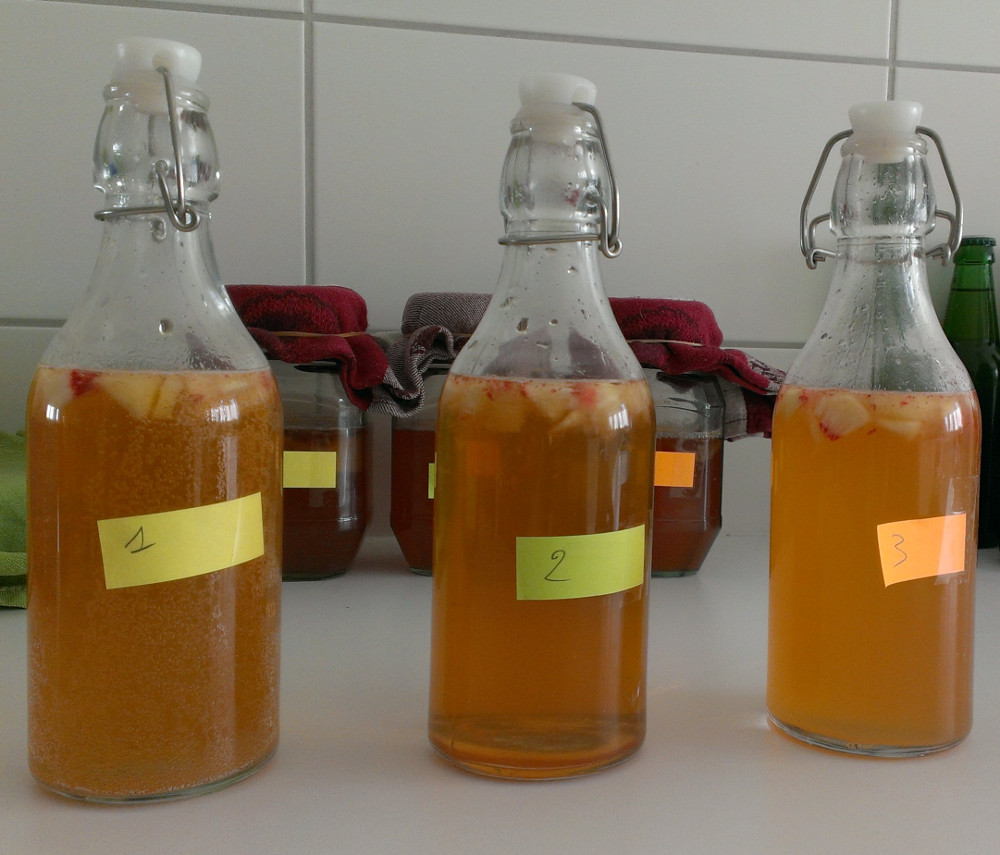
At last, I am happy to say that all cultures pulled through, after a long rescue mission. I added some organic peach fragments to the each of the cultures for a second round of fermentation. The second sample is a bit too sour for my taste, but the other two are perfect..
Continuous brewing
Using a 5L brewing vessel, I started with continuous kombucha brewing. Same ratios for tea as previously used, even though sometimes I increase or decrease a bit, depending on how the SCOBY looks.
Moving the brewing vessels into a slightly warmer room was hugely helpful in producing a better brew.
Measuring da Booz
In order to produce Kombucha more reliably, I wanted to put the characteristics of the brew into a couple of numbers.
For brewing of all sorts a wide range in meters exist. I got lucky to have several of them land on my working bench 😉 and what are tools for but to use them..
On the nature of a couple of meters:
The vinometer is used to measure the amount of alcohol in wine. The amount of alcohol in wine can be read on the meter as a percentage of the total solution.
This fellow uses the difference in capillary forces that are exerted on alcohol versus the rest of the fluid: Wine is poured into the meter until it leaves at the other (narrow) end. Turning the meter around will make that the water flows out much faster than the alcohol, which then leaves a trail you can quantify on a scale.
Density meters: There seems to be no shortage of density meters to measure the % of alcohol, or sugar for that matter, in your beverage. What is important to take into account here is the temperature as that has an effect on your result. The relationship is inverse meaning that when the temperature increases, the density of your beverage will decrease (suggesting there is more alcohol in your beverage than there really is).
The only thing that I need to say here before you go and draw conclusions in the next section is that this was just a fun and fluffy experiment, meaning they are not serious: the range of the measurements were all done at the same temperature, which was not necessarily in line with that indicated on the meters (I had limited time, so I could not cool down one of the samples to 5°C)
The results
Temperature
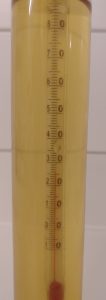
The ‘room temperature’ was 23°C (left pic), whereas the temperature in the brew (which came from a warmer room) was slightly higher 26°C (right pic)
Alcohol content
For kombucha it is known that relatively low amounts of alcohol can be detected. The maximum amount of alcohol is said to be 2%.
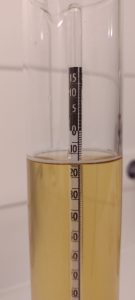
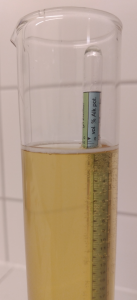
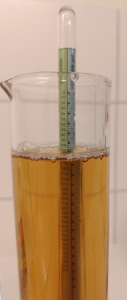
We had 4 meters that could give us an impression of the alcohol content in the kombucha brew.
Readings from the meters from left to right:
1.5%, 1.4%, 1% alcoholic potential, “below the detection limit” respectively
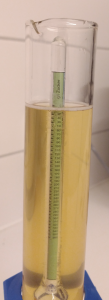
Sugar content
In sugared tea (left picture) that is poured onto the SCOBY, the sugar content was 110g/L in this case, which corresponded approximately to the amount of sugar that was weighed off.
In the picture on the right, the sugar content of the matured kombucha is measured. In this case it is 0 g/L, i.e. all sugar has been converted by the SCOBY. Indeed, this particular batch was pretty sour (as is indicated by the pH measurements; below).
pH
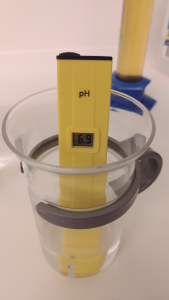
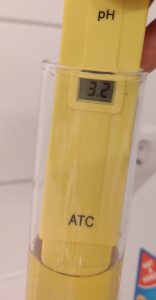
Last but not least, we also performed a measurement of the pH, which gives an indication of the acidity of kombucha. As kombucha that has been fermenting for a long time can end up as acetic acid, it comes as no surprise that the overal pH of kombucha is on the lower end (which is how it should be).
As an indication, the pH of the calibration fluid was 6.9 (neutral pH, left pic), whereas that of a fully matured kombucha was 3.2 (right pic).
Kombucha-Candy: Testing low and zero-sugar alternatives
Previously I’ve tried to make KombuCandy the traditional way, with the typical sirup. This time, I wanted to see what low-sugar and zero-sugar experiments would yield in terms of taste and sweetness. Obviously one has to account for the sour taste, and so it would be probably less ideal to add sour fruits, so I went for the sweet fruits (appel and mango) for my sugar-free version.
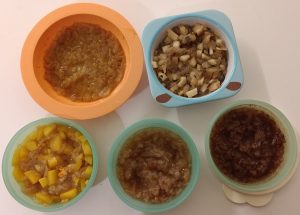
I started with 5 samples, each 100g of shredded SCOBY:
The low sugar alternatives
- spicy-sweet
- chai (self-made mix)
I used about 2 teaspoons of sugar for 100g of shredded SCOBY, which is way below the normal amount (scoby volume:syrup volume)
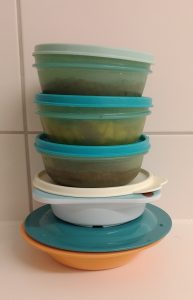
The marinating tower: samples happily marinating, until dehydration starts
Dehydration started about 24 hours later and laste also for 24 hours at low temperature and lots of circulating air.
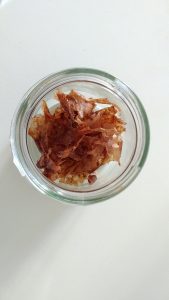
Yield:
I can safely say that this was a success!
Aside from the lovely smell during the dehydration, the resulting batch was super! About half of the ‘curry’ sample and 1/4 of the spicy-sugar also disappeared in my daughter’s tummy. I had to stop her at that point because otherwise she wouldn’t eat her dinner.. She tasted the mango and chai sample and liked those as well (as did I)
I guess I’ll stick with those in the future. We already get more than enough sugar in our body via other ways!
